How to Install PVC Wall Cladding for Your Home?
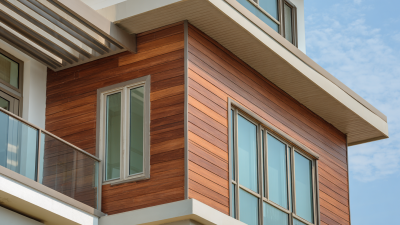
PVC wall cladding can transform your home’s interior. This versatile material offers beauty and practicality. It provides excellent insulation and is easy to clean. Many homeowners prefer PVC wall cladding for its durability and low maintenance.
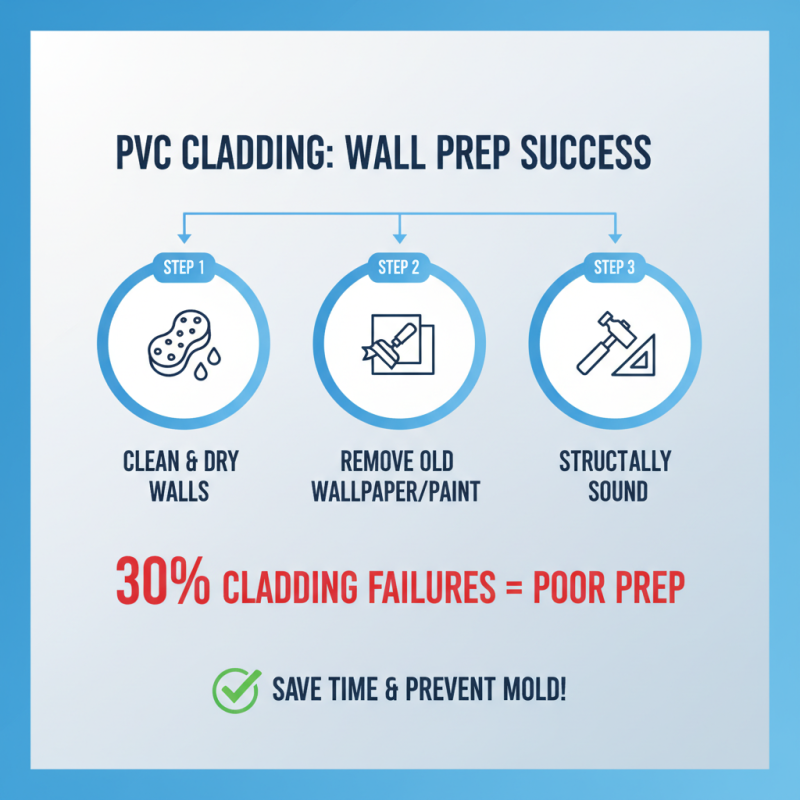
Installing PVC wall cladding might seem straightforward. However, there are challenges to consider. Proper measurements are crucial. A small mistake can lead to noticeable gaps. It is important to plan your layout carefully. Ensure your walls are clean and dry before installation. This step cannot be overlooked.
The final result can be stunning if done correctly. Yet, some might rush the process, leading to unsatisfactory outcomes. Taking your time is vital. Be patient, and follow each step closely. Reflect on your technique as you work. Each piece matters in achieving that perfect finish with PVC wall cladding.
Choosing the Right PVC Wall Cladding for Your Home
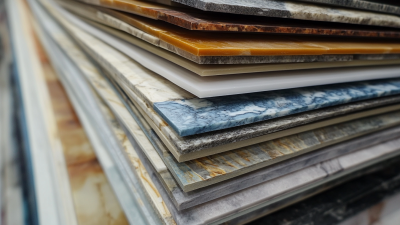
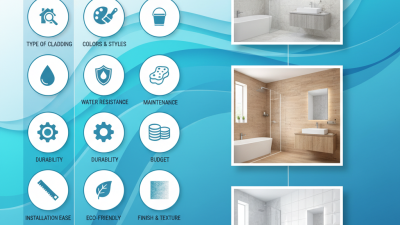
Choosing the right PVC wall cladding for your home can be a daunting task. It’s essential to consider the design, thickness, and texture that best suit your needs. Research indicates that over 75% of homeowners prefer cladding that offers a blend of aesthetics and durability. This factor is significant in urban areas where environmental conditions can be harsh.
When selecting cladding, focus on its thermal and sound insulation properties. Studies show that PVC cladding can reduce energy costs by up to 20% due to its insulating capabilities. Choosing cladding with a thickness of at least 5mm generally provides better sound dampening. However, thinner options may appeal to those seeking a lightweight solution for easier installation.
Don't overlook the importance of texture and finish. Smooth finishes are easy to clean but can show fingerprints and dirt more easily. Textured surfaces may hide imperfections but can accumulate grime. Reflect on your lifestyle and the maintenance effort you're willing to invest. Sometimes, practicality and aesthetics will clash, prompting tough decisions. Make sure to research various styles and gauge your space before committing.
Tools and Materials Needed for PVC Wall Cladding
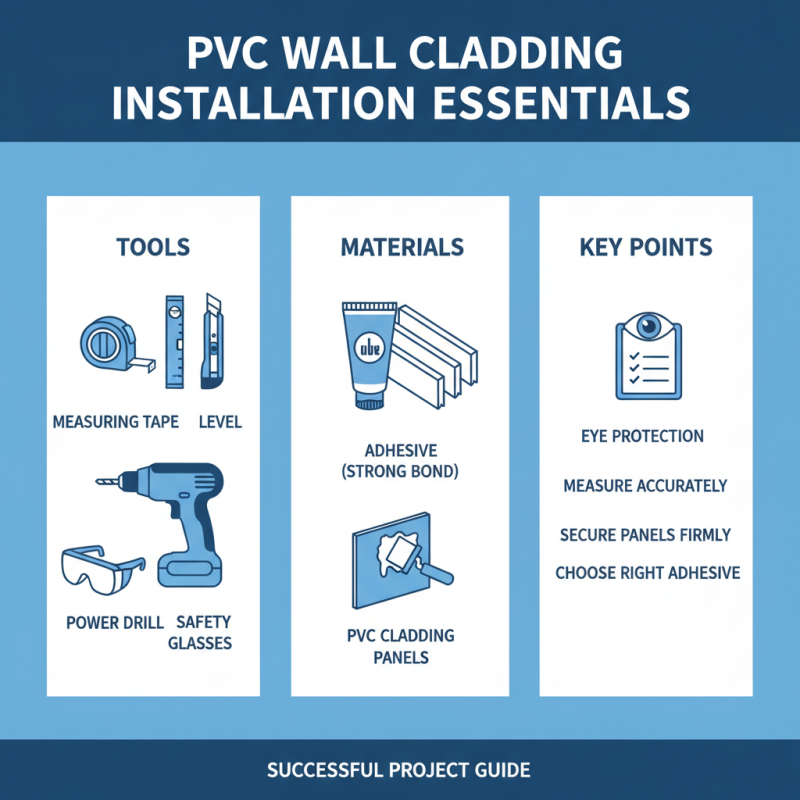
When installing PVC wall cladding, having the right tools and materials is essential for a successful project. Start with essential tools like a measuring tape, a level, and a utility knife. A power drill is often necessary for securing the panels to the wall. Safety glasses are important to protect your eyes during cutting. Manufacturers recommend using a good adhesive for a strong bond. This can vary based on the wall surface and cladding type.
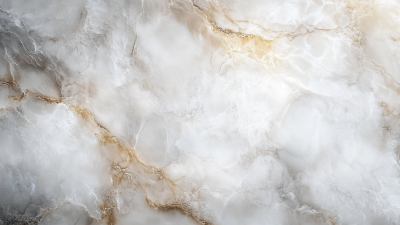
Quality materials also make a significant difference. It is advised to opt for lightweight PVC panels, which come in various designs. Many homeowners prefer panels that mimic wood textures or tiles, adding style without heavy upkeep. The average cost for materials can be around $1.50 to $3.00 per square foot, according to industry reports. However, choosing cheaper options might result in lower durability and aesthetic appeal. While cheaper alternatives exist, investing in quality materials ensures longevity and reduces future repair costs.
Preparation is key before starting the installation. Ensure the walls are clean and dry to maximize adhesion. For best results, acclimating the PVC to room temperature is recommended. Be mindful of the installation instructions; ignoring them can undermine your efforts. With these components in place, the installation of PVC wall cladding can be a straightforward yet rewarding process, giving your home a fresh look.
Step-by-Step Installation Process of PVC Wall Cladding
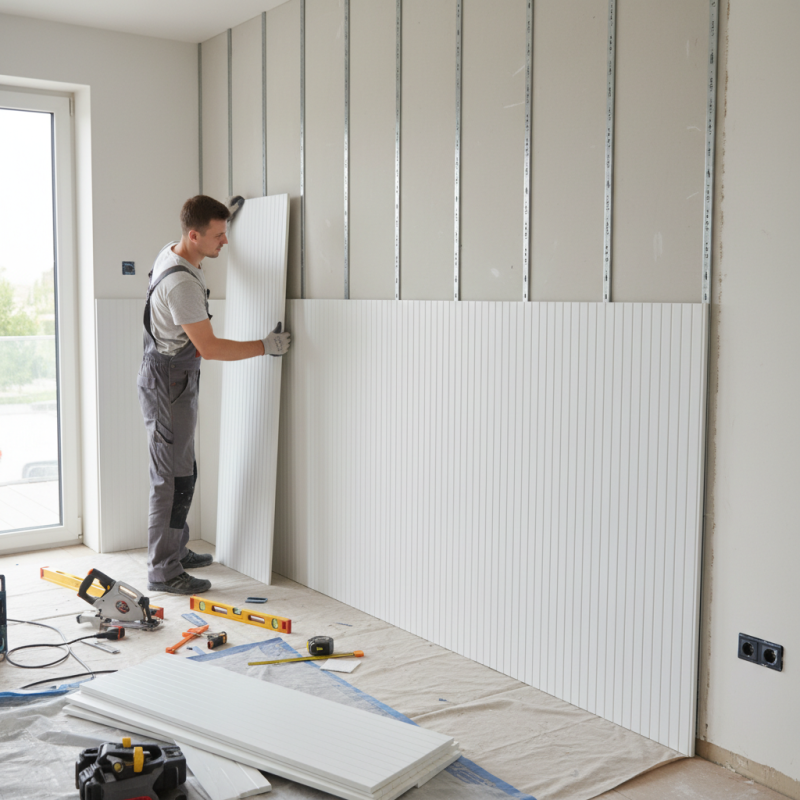
Installing PVC wall cladding adds style and practicality to your home. The process is straightforward but requires careful planning. Before you start, gather all the materials and tools you need. You'll require a measuring tape, a utility knife, adhesive, and a level. Measuring your walls accurately is crucial. Take your time; a small mistake can lead to visible gaps.
Once you have your materials ready, begin by cleaning the wall surfaces. Remove any dust or old paint. Next, cut the PVC panels to the desired length. Precision here is key. A clean cut ensures a better fit. Apply the adhesive evenly on the back of the panels. Press them firmly against the wall. Keep checking with a level to maintain a straight line. It’s easy to get carried away and misalign the panels, so double-check often.
After installing the panels, you may need to fill in gaps with caulk. This step can be tricky. Don’t rush it. Wait for the adhesive to cure before adding any finishing touches. Sometimes, the panels may not fit perfectly, and that's okay. Embrace those imperfections, as they can add character to your walls. Take a moment to step back and admire your work. Reflect on the process and think about what you would do differently next time.
How to Install PVC Wall Cladding for Your Home? - Step-by-Step Installation Process of PVC Wall Cladding
| Step |
Description |
Tools Required |
Estimated Time |
| 1 |
Measure and prepare the wall area. |
Measuring tape, pencil |
30 minutes |
| 2 |
Choose and cut the PVC panels to size. |
PVC cutter or saw, measuring tape |
1 hour |
| 3 |
Prepare adhesive or fasteners for installation. |
Adhesive, caulking gun |
20 minutes |
| 4 |
Install the first panel and ensure it's leveled. |
Level, adhesive or fasteners |
1 hour |
| 5 |
Continue installing the remaining panels. |
Level, adhesive or fasteners |
Variable |
| 6 |
Seal edges and apply finishing touches. |
Sealant, caulking gun |
30 minutes |
Finishing Touches and Maintenance Tips for PVC Cladding
PVC wall cladding is a popular choice for both aesthetics and durability. However, maintaining it properly requires some attention. Experts suggest cleaning the surfaces regularly to prevent dirt and mold buildup. A simple solution of mild detergent and water is often effective. Make sure to use a soft cloth or sponge; abrasive materials can scratch the surface.
After installation, consider applying a protective sealant. This step can enhance the longevity of the cladding. Studies indicate that PVC cladding can last up to 30 years with proper care. Use caution when exposing the material to harsh chemicals. They can cause irreversible damage. Opt for gentle cleaners designed for PVC instead.
Inspect your PVC cladding periodically. Look for any signs of wear or loss of color. Fading can occur over time, especially in areas with direct sunlight. Some homeowners have noted discoloration within a few years; it's essential to address this quickly. A fresh coat of paint or a specific PVC restoration product might help. Regular maintenance is crucial to preserve the look and structural integrity of your cladding.